Description
📥 Transform Zero Downloads into Instant Trust: The Ultimate Download Counter PRO
Stop letting empty product pages kill your conversions. When customers see “0 downloads” or a ghost-town product summary, they bounce.
Introducing WooCommerce Download Counter Display PRO—engineered by Ramerlabs.com to build instant, bulletproof authority for your digital products and Telegram access links.
Why It Multiplies Your Conversions:
-
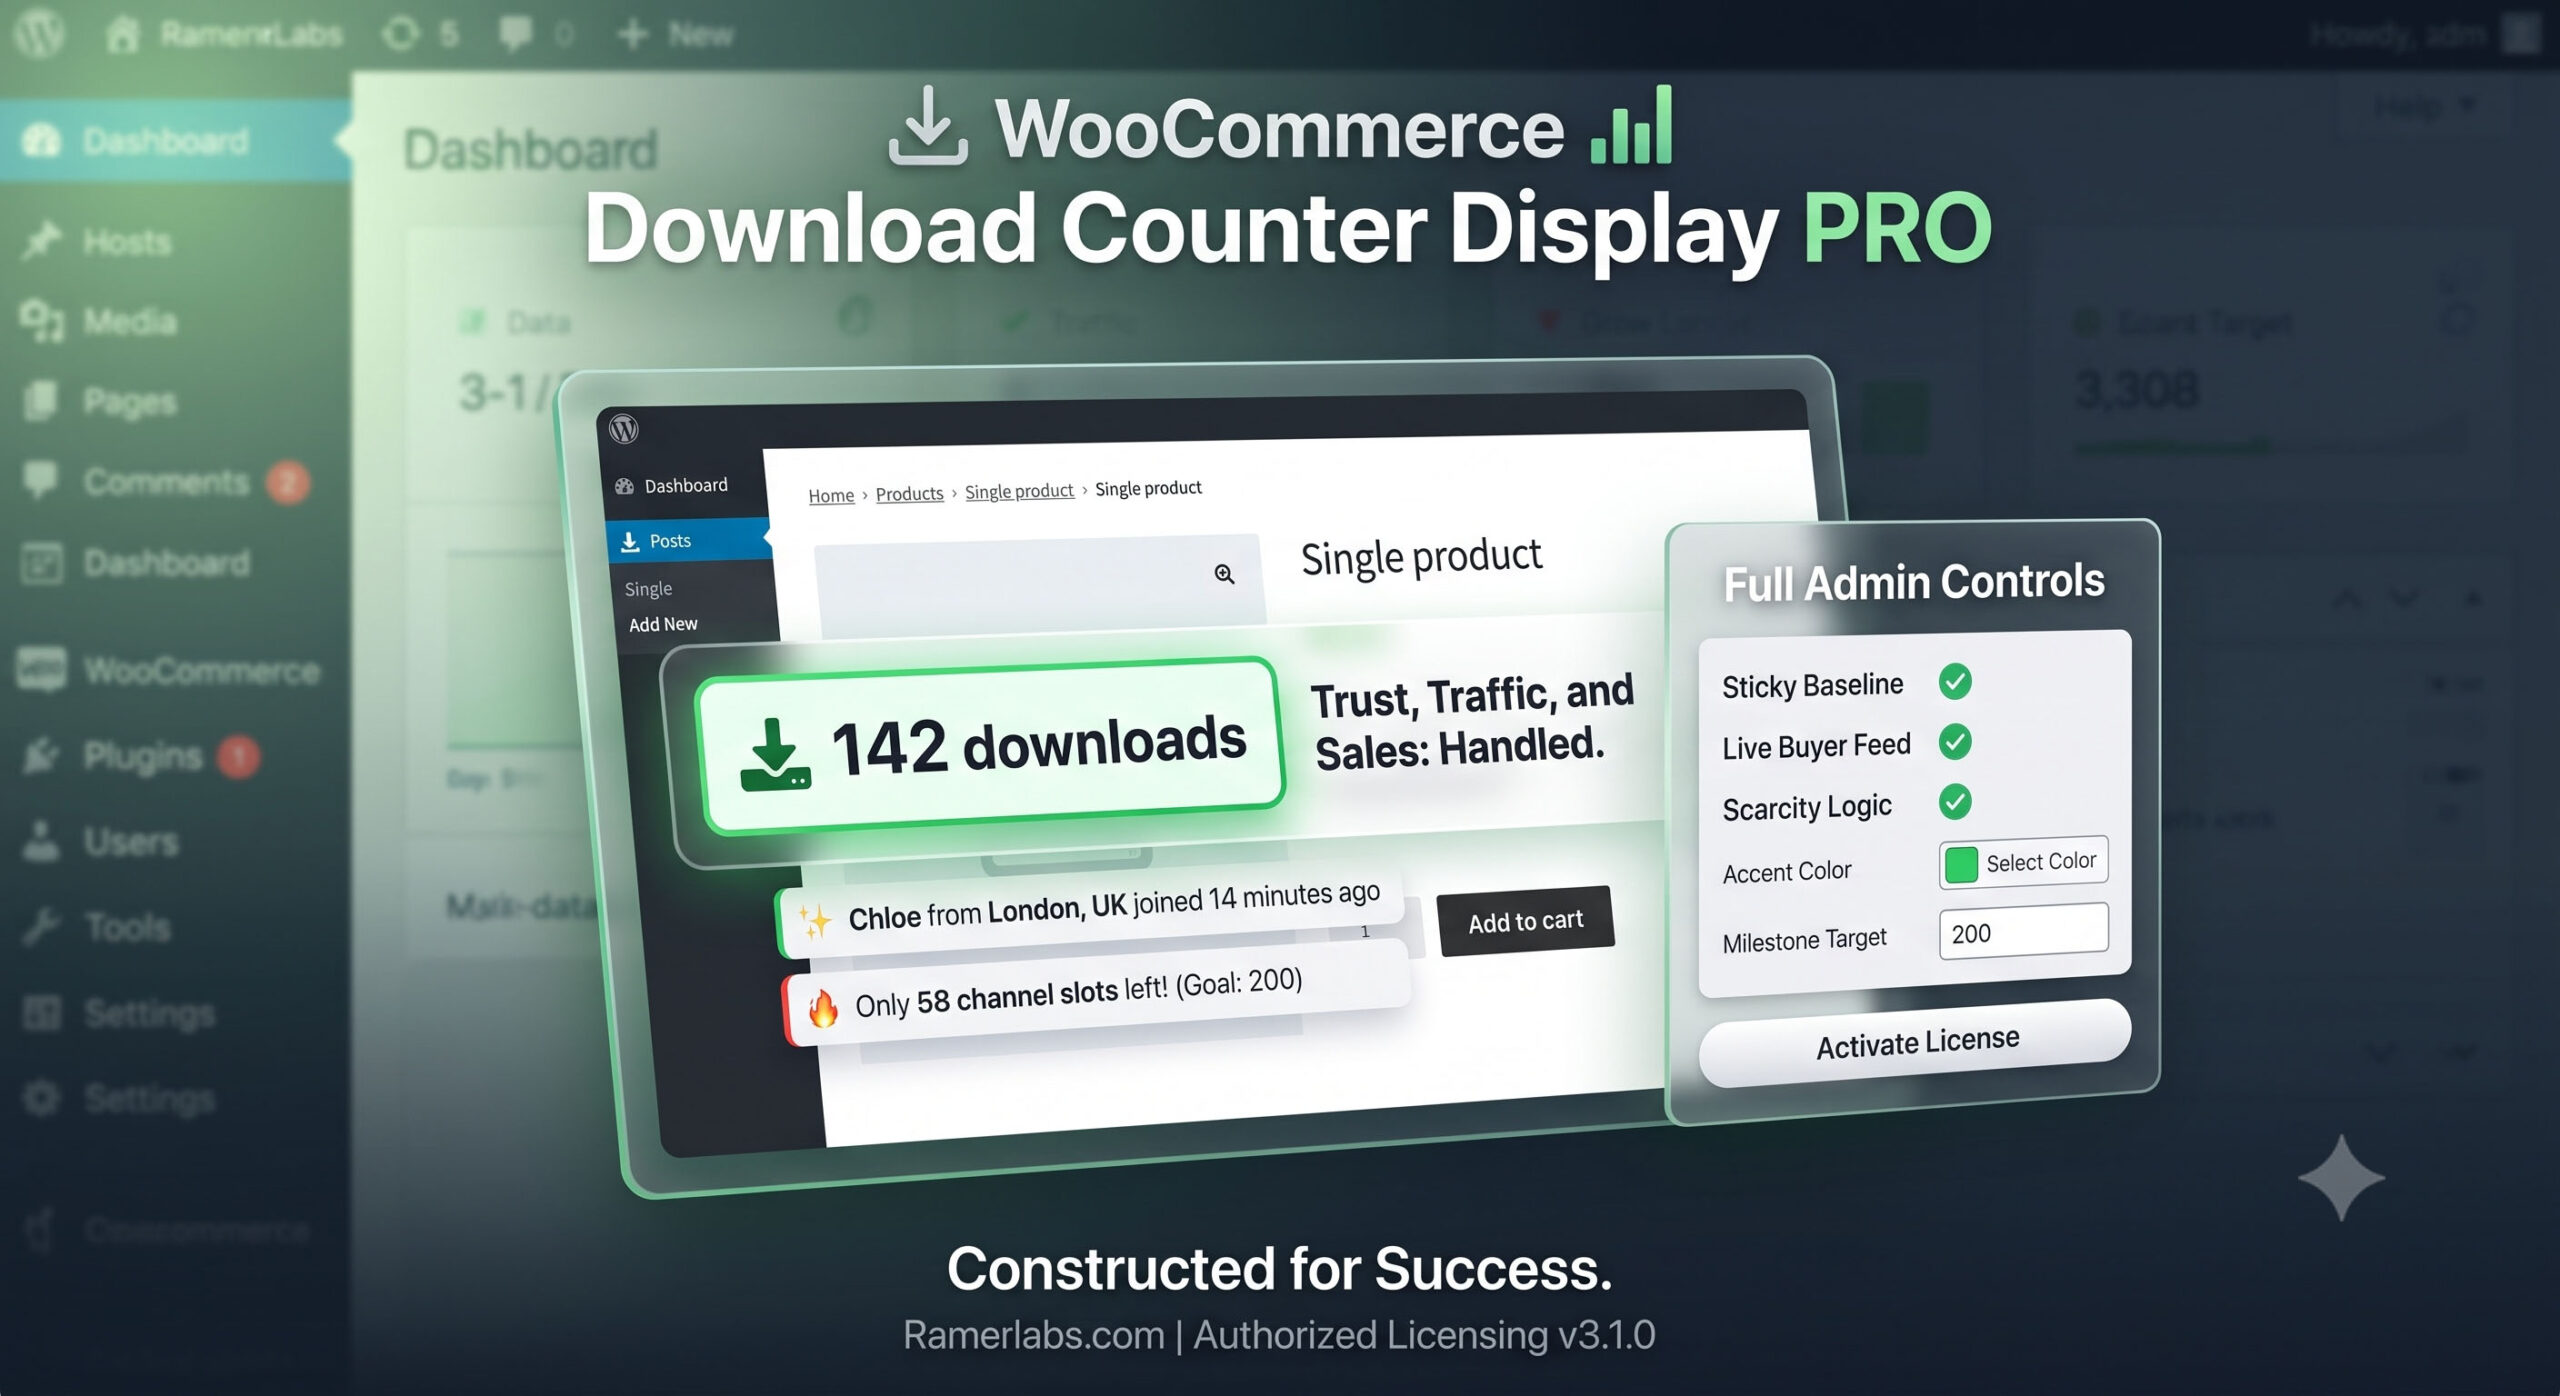
✅ Smart “Sticky” Baselines: Automatically gives every single product a unique, permanent starting download count between 50 and 150. It looks organically popular, and never resets on page refresh!
-
✅ Dynamic Live Buyer Feed: Shows randomized, realistic real-time notifications like “Chloe from London, UK joined 14 minutes ago,” keeping your storefront buzzing with activity.
-
✅ Built-In Scarcity Engine: Displays a high-urgency countdown box showing exactly how many channel slots are remaining before prices go up or entries close.
-
✅ Full Dashboard Control: Easily toggle features, pick your accent colors, change your custom icon emojis, and update display text labels directly from a native admin menu.
Ready to turn casual browsers into channel members? Let’s construct your social proof engine today! Visit Ramerlabs.com 🚀
🛠️ Step-by-Step Installation & Activation Guide
Give these exact instructions to your plugin users so they can install, activate, and configure the engine effortlessly.
Step 1: Install the Plugin Files
-
Download the compressed
.zipplugin folder provided by Ramerlabs. -
Log into your WordPress admin dashboard.
-
Navigate to Plugins > Add New in the left sidebar menu.
-
Click the Upload Plugin button at the very top of the page.
-
Choose the downloaded zip file from your computer and click Install Now.
-
Once the upload finishes, click the blue Activate Plugin button.
Step 2: Input Your Product License Key
-
Look at your WordPress sidebar menu and click on the newly added Download Counter tab.
-
In the License Configuration panel, locate the text box labeled Product License Key.
-
Paste your official license key (Format:
RL-XXXX-XXXX-XXXX). -
Click Verify Key Framework.
-
Once verified, the panel will flash green and display “License Active!”—completely unlocking the customization switches below.
Step 3: Configure Your Conversion Features
With your license validated, you can tailor the settings to match your branding layout:
-
Master Switch: Check Enable Counter Badge to turn the display on across your product catalog.
-
Branding Look: Choose your theme’s accent color via the color picker and pick a custom icon emoji (like 📥, 🚀, or 💬).
-
Turn on Alerts: Check Enable Dynamic Live Purchaser Alert to launch the randomized buyer location and timeline activity feed.
-
Trigger Scarcity: Check Enable Scarcity Logic and set your target Milestone Capacity (e.g., 200). The plugin will automatically subtract your baseline metrics to calculate remaining spots left.
-
Click Save Changes at the bottom of the screen.
Your single product pages are now fully armed with conversion-boosting social proof!



Reviews
There are no reviews yet.