Description
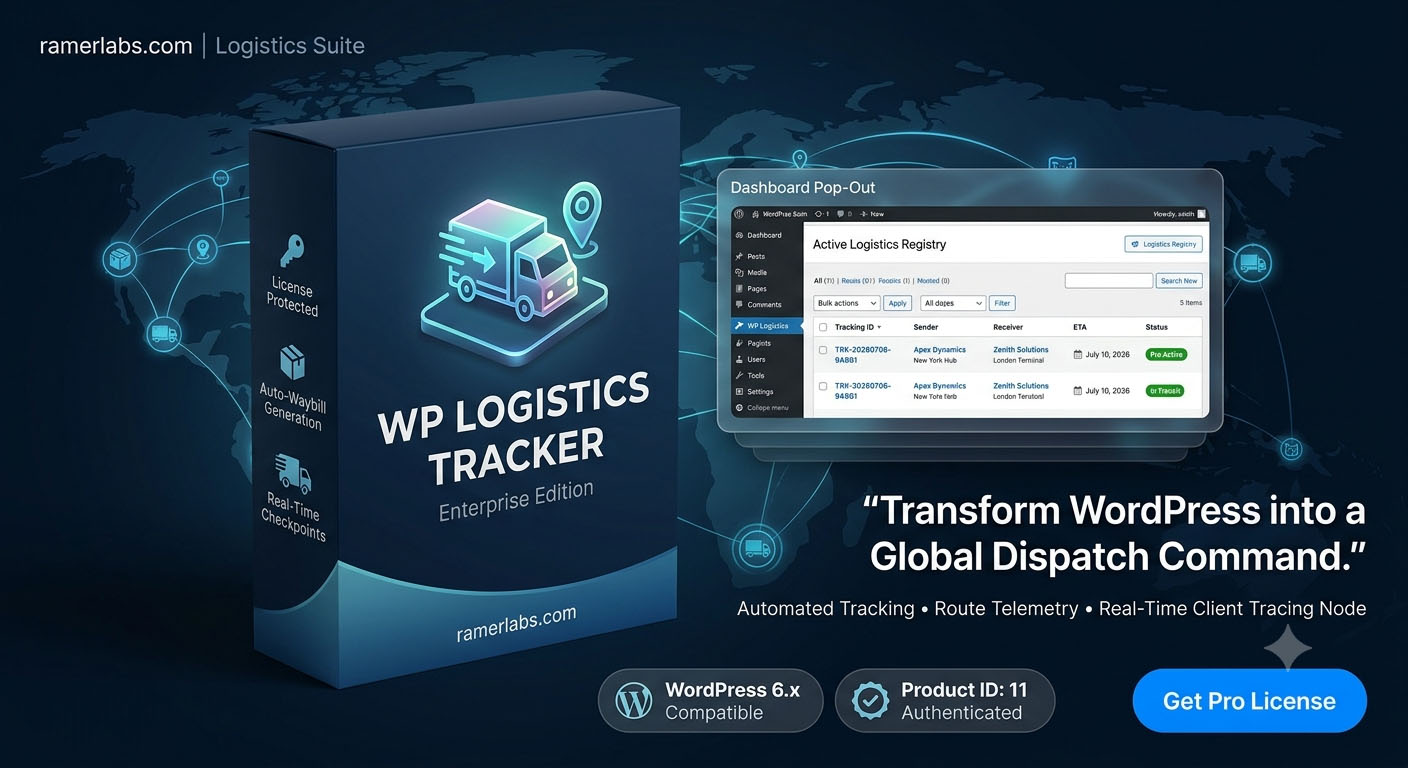
Enterprise Logistics Tracking Made Simple for WordPress. 🚀
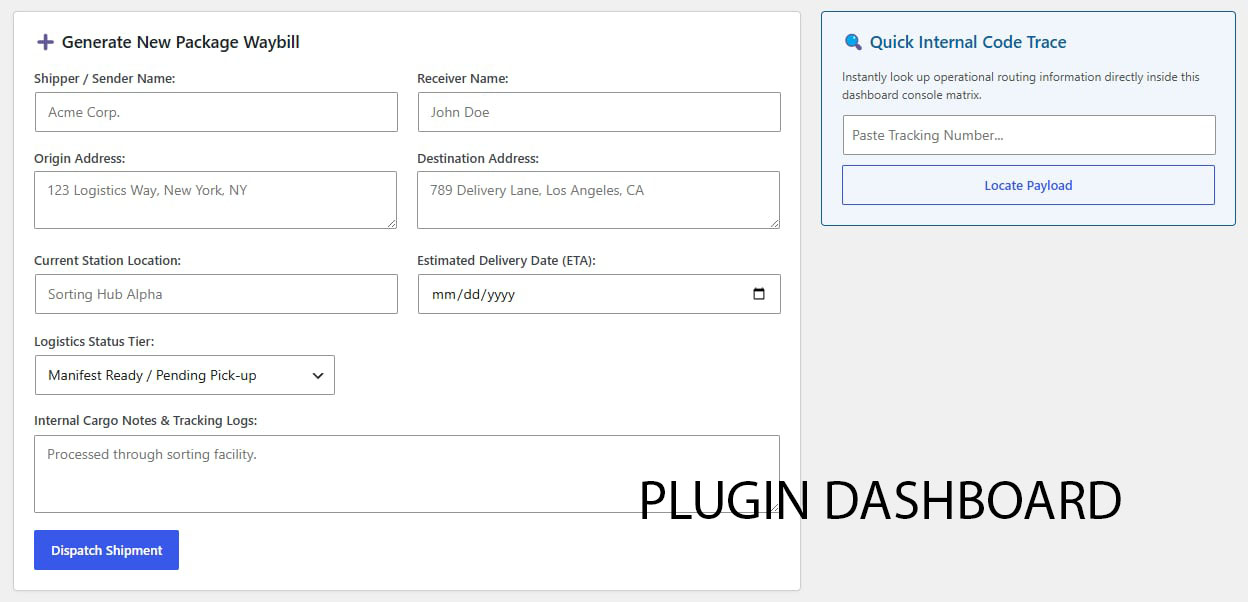
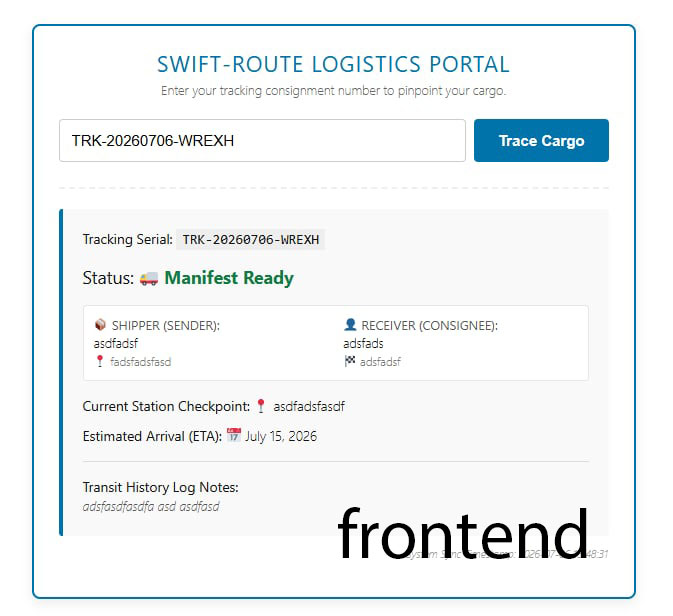
Automate tracking number generation, monitor complex shipper-to-consignee routes, and provide your customers with real-time checkpoint updates directly on your website using a single shortcode.
No external bloat. Clean data. Secure licensing architecture verified by ramerlabs.com.
Part 2: Activation & Setup Instructions for Buyers
Step 1: Upload and Install the Components
-
Download your plugin ZIP package from ramerlabs.com.
-
Log into your WordPress Dashboard and navigate to Plugins → Add New → Upload Plugin.
-
Select your ZIP file, click Install Now, and then click Activate Plugin. Note: Make sure both
wp-logistics-tracker.phpandcore-loader.phpare contained within the plugin directory.
Step 2: Unlock the System Terminal (License Key Verification)
-
In your WordPress sidebar, look for the new menu entry: Logistics Control 📊.
-
Locate the box labeled 🔑 Enterprise Licensing Cryptography.
-
Paste the unique serial key provided in your ramerlabs invoice email into the input field.
-
Click Save & Validate.
-
The system will sync with our validation servers. Once accepted, your License State will shift to a green Pro Active indicator, immediately unlocking all cargo creation and routing forms.
Step 3: Placing the Tracking Box on the Frontend
-
Create a new page or edit an existing page (e.g., “Track Your Package”) on your WordPress site.
-
Insert the following text shortcode block wherever you want the client-facing console to appear:
[track_shipment] -
Publish or update the page. Your clients can now enter their automated numbers and fetch instant route reports directly on that page without annoying page-reload redirections!



Reviews
There are no reviews yet.